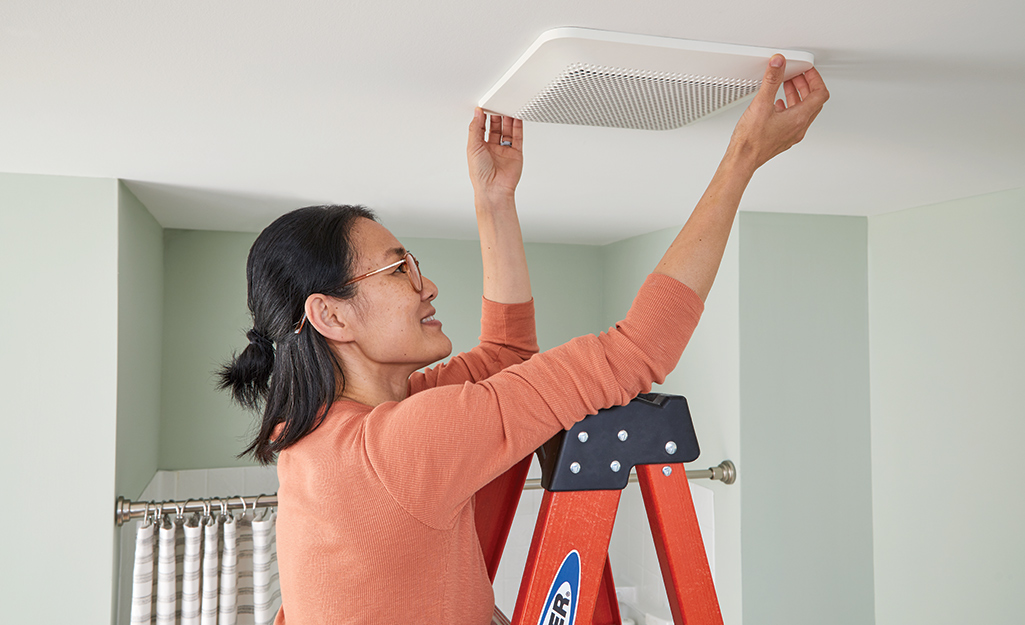
A well-functioning bathroom fan is a crucial part of maintaining a clean and healthy bathroom environment. It helps ventilate the space, reduces moisture, and prevents mold and mildew buildup. However, over time, bathroom fans can wear out or become less efficient, making a bathroom fan replacement a necessary home improvement task. In this article, we will guide you through everything you need to know about replacing your bathroom fan, including why it’s important, signs you need a new one, and how to complete the process step-by-step.
Why is Bathroom Fan Replacement Important?
Bathroom fans are designed to remove excess moisture, odors, and humidity from your bathroom. Without proper ventilation, your bathroom can become a breeding ground for mold, mildew, and unpleasant smells. Replacing an old or inefficient bathroom fan ensures that your home remains safe, comfortable, and free from potential damage caused by excessive moisture.
Benefits of Replacing Your Bathroom Fan:
- Improved Air Quality: A functioning fan removes humidity and stale air, reducing the risk of mold and bacteria.
- Protection for Your Home: Excess moisture can damage walls, ceilings, and paint. A good fan prevents costly repairs.
- Energy Efficiency: Newer models are quieter and use less energy, saving you money on electricity bills.
- Enhanced Comfort: A quieter, more efficient fan makes your bathroom time more enjoyable.
Signs You Need a Bathroom Fan Replacement
It’s not always obvious when it’s time to replace your bathroom fan. However, there are some clear signs to watch out for. Here are the most common indications that a bathroom fan replacement is due:
Choosing the Right Bathroom Fan for Replacement
When selecting a replacement bathroom fan, it’s important to consider factors like size, power, and features to ensure you’re getting the right model for your needs. Here’s a breakdown of what to look for:
1. CFM (Cubic Feet Per Minute) Rating
The CFM rating determines the fan’s airflow capacity. A higher CFM rating means better ventilation. To calculate the right CFM for your bathroom, use this simple formula:
- For bathrooms up to 100 square feet: Choose a fan with 1 CFM per square foot. (E.g., for a 50-square-foot bathroom, select a 50 CFM fan.)
- For larger bathrooms: Add 50 CFM for each fixture (e.g., toilet, shower, bathtub).
2. Noise Level
Fan noise is measured in sones. A fan with a lower sone rating is quieter. For a more peaceful bathroom experience, look for models with a rating of 1.5 sones or less.
3. Energy Efficiency
Energy Star-rated bathroom fans are more energy-efficient and can reduce your electricity bills while being environmentally friendly.
4. Additional Features
Modern fans come with a variety of features, such as built-in lights, humidity sensors, and even Bluetooth speakers. Choose features that add convenience and value to your bathroom.
Step-by-Step Guide to Bathroom Fan Replacement
Replacing a bathroom fan is a straightforward DIY project if you’re comfortable working with basic tools and electrical wiring. Follow these steps to safely replace your bathroom fan:
1. Gather Your Tools and Materials
Before starting the replacement process, make sure you have the following tools and supplies:
- Screwdriver (Phillips and flathead)
- Drill
- Measuring tape
- Utility knife
- Wire connectors
- Replacement bathroom fan
- Duct tape
- Safety goggles and gloves
2. Turn Off Power to the Bathroom Fan
For safety, locate your home’s circuit breaker and turn off the power to the bathroom where you’ll be working. Double-check by trying to turn on the fan to ensure no power is flowing.
3. Remove the Old Fan
- Take off the fan cover by gently pulling it down and unclipping it.
- Disconnect the wiring by unscrewing the wire connectors and detaching the fan from the power source.
- Unscrew or unclip the fan housing from the ceiling. If the fan is attached to a duct, carefully disconnect the ductwork.
4. Prepare the Opening
- Measure the opening in your ceiling to ensure it fits the size of your new fan. If needed, use a utility knife to enlarge the hole slightly.
- Clean the area and check the ductwork for any debris or damage.
5. Install the New Fan
- Attach the new fan to the ductwork using duct tape for a secure fit.
- Connect the wiring according to the manufacturer’s instructions, matching the wires (black to black, white to white, and green to ground).
- Secure the fan housing to the ceiling with screws or clips.
6. Test the Fan
Turn the power back on and test the fan to ensure it’s working properly. Check for noise level, airflow, and proper ventilation.
7. Install the Cover
Finally, attach the fan cover and ensure it’s securely in place. Enjoy your newly installed, efficient bathroom fan!
Maintenance Tips for a Long-Lasting Bathroom Fan
After completing your bathroom fan replacement, regular maintenance is key to keeping it functioning effectively. Here are some tips:
- Clean the Fan Cover: Remove dust and debris from the fan cover every few months.
- Inspect the Ductwork: Check for clogs or blockages in the ventilation system.
- Lubricate the Motor: If your fan has a motor that requires lubrication, follow the manufacturer’s guidelines for maintenance.
- Replace Filters: Some models come with filters that need to be replaced periodically.
Conclusion
A bathroom fan replacement is a simple yet impactful upgrade that can significantly improve your bathroom’s air quality, comfort, and energy efficiency. You can confidently replace your old fan with a newer, more effective model by recognizing the signs of a failing fan and following the steps outlined in this guide. Not only will this help protect your home from moisture-related issues, but it will also create a fresher and more enjoyable bathroom environment. So, don’t wait—take the first step toward a better bathroom by replacing that outdated fan today!


